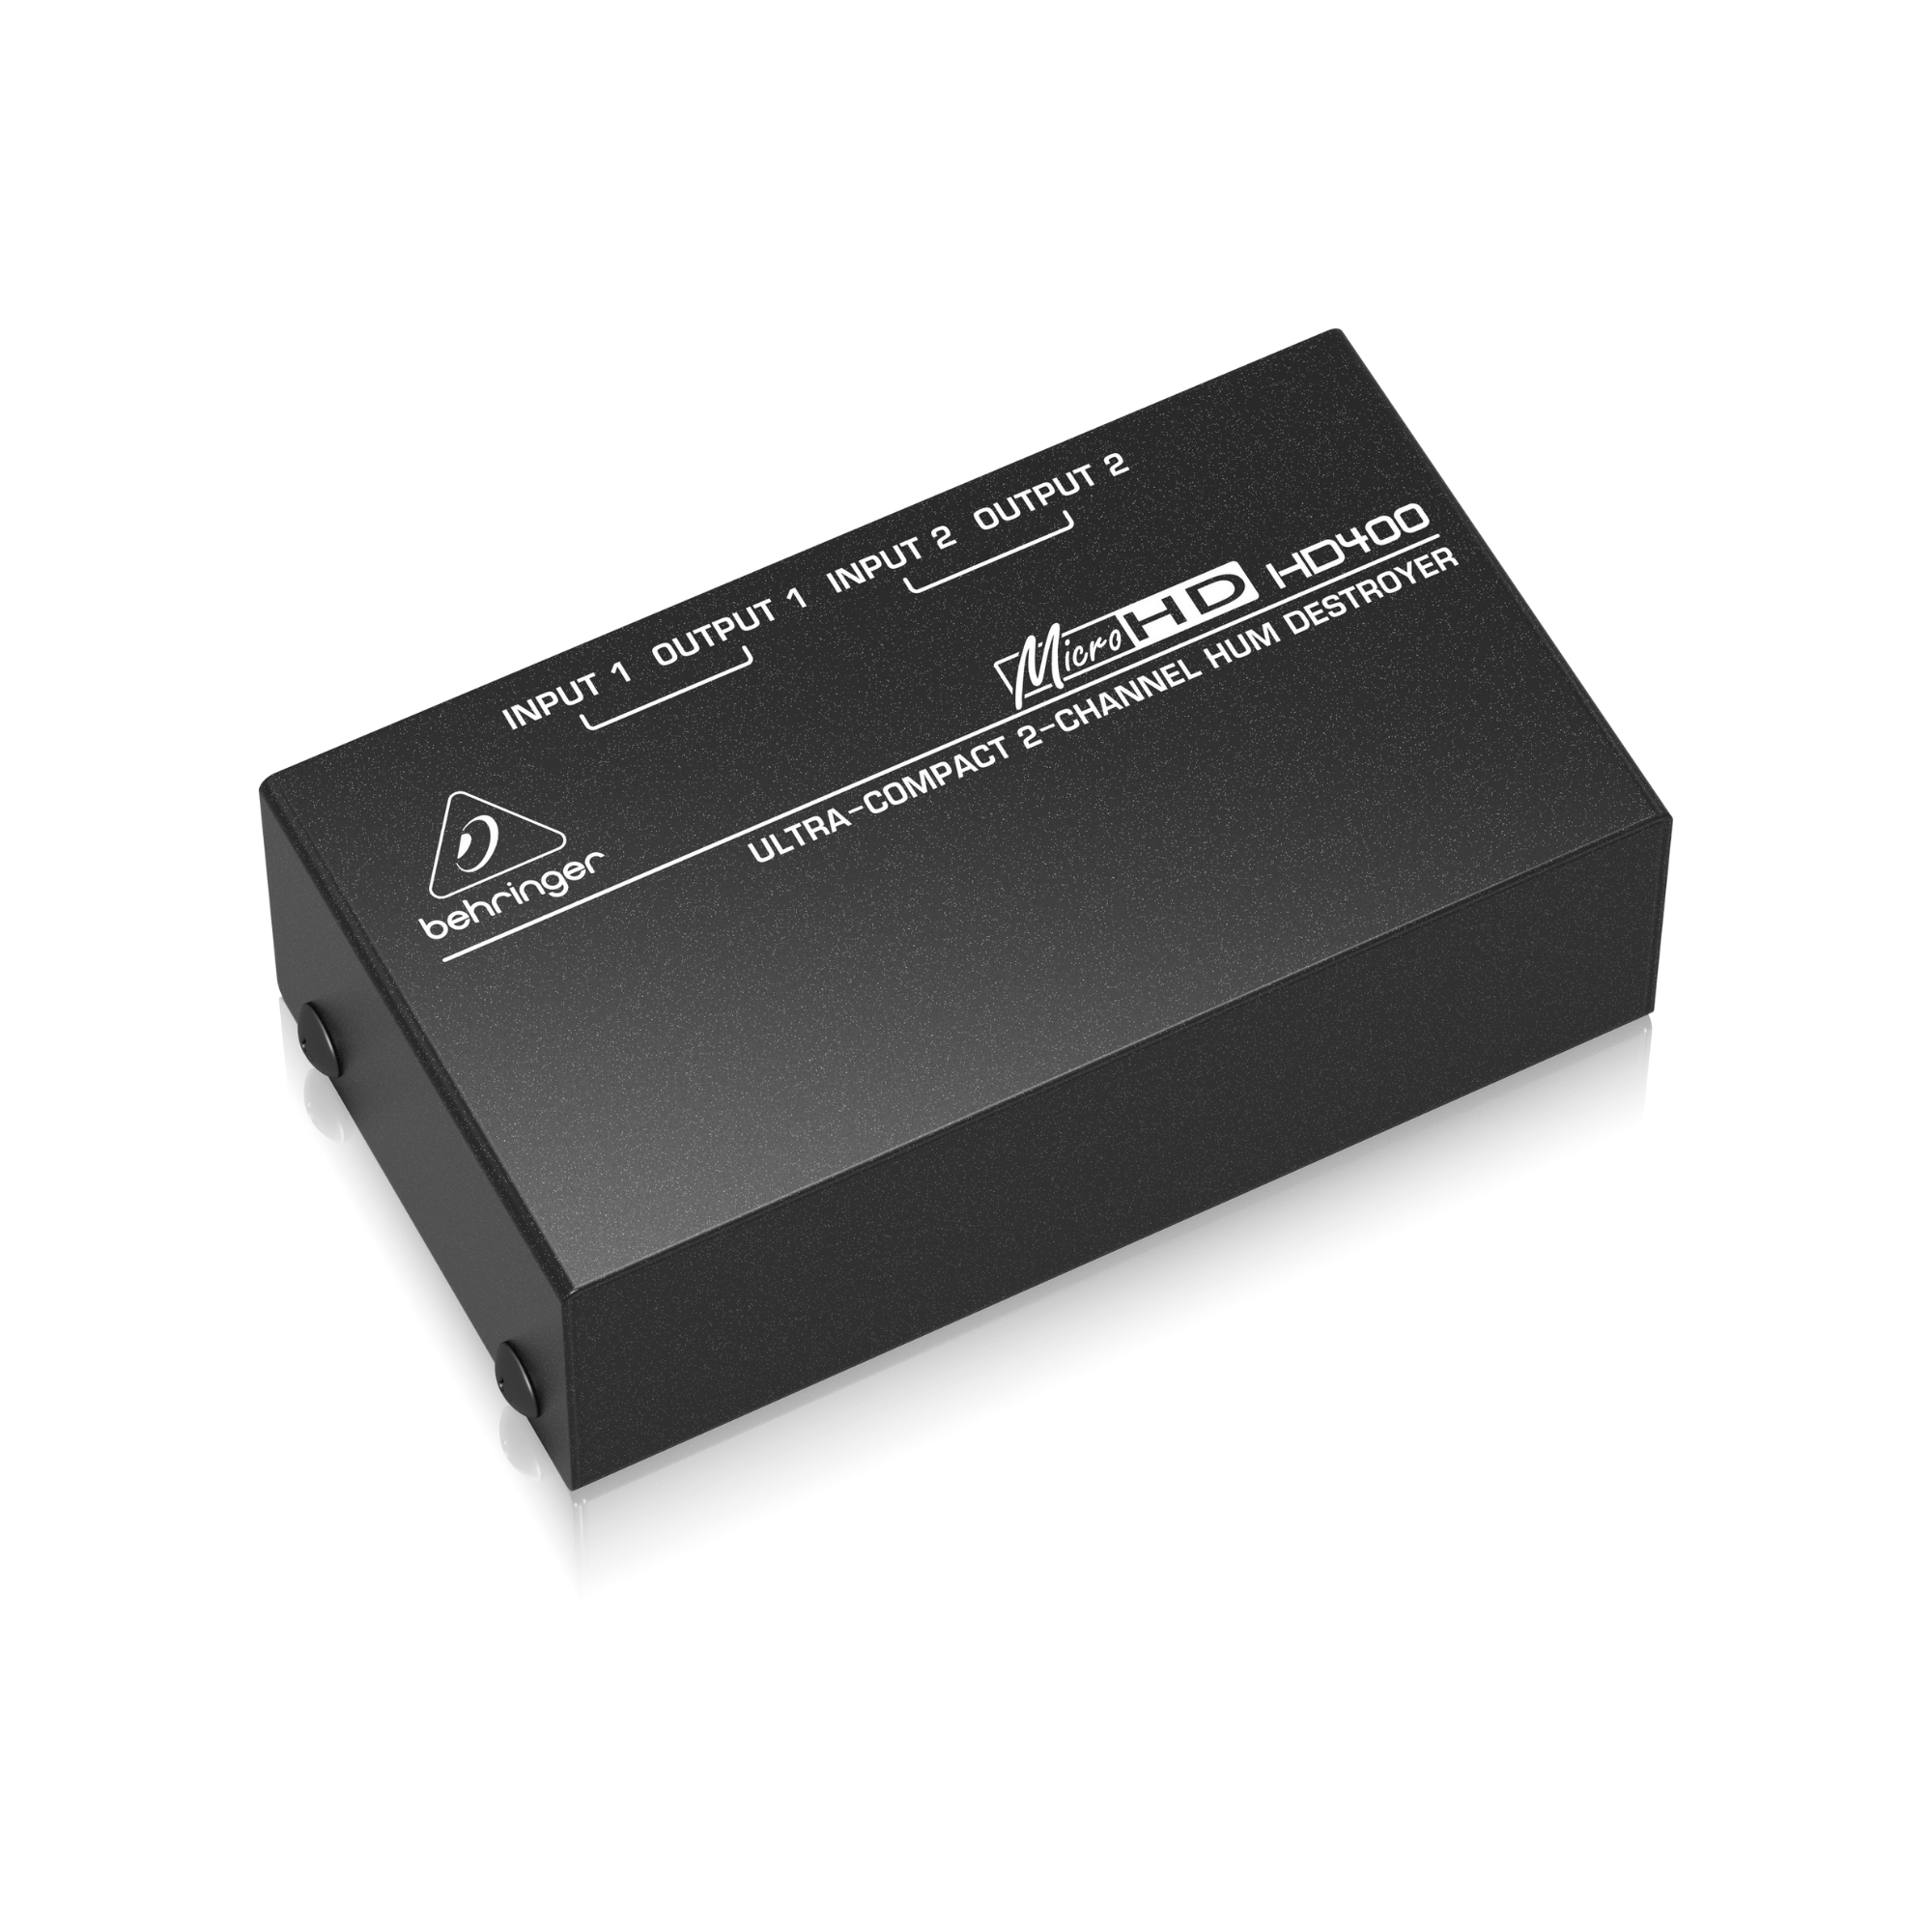
The Behringer HD400 is a 2-channel Hum Destroyer designed to eliminate ground hum and unwanted noise from audio signals. While it performs very effectively, in certain cases related to specific equipment or the venue’s electrical system, users may still encounter residual noise. This article will help you understand how to install, connect, and troubleshoot the HD400 for optimal performance.
Positioning the HD400 in the System
For the best hum elimination results, the HD400 should be placed after the main output of the mixer or audio interface, and before the amplifier (if using passive speakers) or before active speakers (speakers with built-in amplification).
Example connection diagram:
Audio Interface / Mixer → Behringer HD400 → Amplifier / Powered Speakers
Recommended Cable Types
To ensure effective operation of the HD400, use balanced cables:
Why not use unbalanced cables?
-
1/4” TS (Tip - Sleeve): unbalanced connection, prone to hum and noise interference.
-
Unbalanced XLR to 1/4” TRS/TS: disables the hum elimination function of the HD400, resulting in persistent noise.
➡ Using balanced connections allows the HD400 to fully isolate ground loops and effectively eliminate hum.
Troubleshooting When Noise Persists
Check the cables
Check installation position
Test individual channels
Check the venue’s electrical system
-
The HD400 removes most ground hum, but if the electrical system has poor grounding or non-standard wiring, residual hum may remain.
-
In such cases, consult an electrical technician to inspect and fix the issue at the power source.
Conclusion
The Behringer HD400 is a cost-effective and reliable solution for eliminating ground hum in professional audio systems. The key to maximizing its performance lies in correct placement and consistent use of balanced (TRS) cables. With these troubleshooting
STEPS, you can significantly reduce hum, ensuring maximum clarity and cleanliness in your audio signals.