The Sennheiser TC Bar can be deployed in two ways: as a standalone device connected to a computer in BYOD mode, or as part of a network managed through Sennheiser Control Cockpit. For a standard meeting room, the first setup is straightforward, while a networked system requires Ethernet connection, device discovery, and Control Cockpit configuration.
This guide covers the Sennheiser TC Bar setup process, from hardware connections to basic configuration, helping you get the device ready for use with minimal initial adjustments.
How to set up the Sennheiser TC Bar for the first time
Before starting the installation, determine whether the TC Bar will be used as a stand-alone or network solution. If you only need to connect the TC Bar to a laptop for online meetings, you can use BYOD mode. If centralized device management, Dante, Wi-Fi, or advanced configurations are required, the TC Bar should be deployed on the network and managed through Control Cockpit.
Step 1: Position the TC Bar. The TC Bar supports several installation options, including wall mount, tabletop, VESA mount, and free standing. Wall mount, tabletop, and free-standing mounting options are supplied with the device, while VESA mounting requires an optional accessory.
For a small meeting room, position or mount the TC Bar so that the camera has an appropriate viewing angle covering the entire participant area. Once the installation position is finalized, connect the power supply to the device.
Step 2: Connect the TC Bar to the computer via USB-C. USB-C is the primary connection for the conferencing system. Once the TC Bar is powered and connected directly to a notebook via USB-C, it can operate immediately in BYOD (Bring Your Own Device) mode as the audio and video device for online meetings.
In conferencing applications such as Microsoft Teams or Zoom, select the TC Bar as the Microphone, speaker, and camera if the system does not detect it automatically. If the computer does not recognize the device, Sennheiser recommends checking the USB-C cable supplied with the product before trying other troubleshooting STEPS.
Step 3: Connect an external display if required. The HDMI port on the TC Bar is used to output video to an external display. HDMI on the TC Bar does not transmit audio because the TC Bar itself is used as the system's audio device.
The TC Bar also integrates DisplayLink, allowing the display to be extended through the USB connection. On Windows, DisplayLink is typically installed automatically; on macOS, an appropriate DisplayLink driver may need to be installed to use the Plug & Play functionality.
.jpg)
Step 4: Set up the camera. After connecting via USB-C, the TC Bar's integrated camera can be used for online meetings. The TC Bar supports Auto Framing and Person Tiling to automatically optimize the video frame based on the participants.
If an external PTZ camera is required, connect the camera to the TC Bar's USB-A port. Users can select either the integrated camera or an external PTZ camera from the endpoint device. The TC Bar does not automatically perform intelligent switching between cameras.
Step 5: Save camera positions. After adjusting the camera to the desired angle, the position can be saved using the remote control. Press and hold the Preset button for at least 3 seconds to save the current position. Press the Preset button briefly to recall a saved position.
At this point, the TC Bar can be used as a standalone USB-C conferencing system. However, stand-alone mode provides only a basic set of functions; features such as Wi-Fi, Dante, and certain advanced configurations need to be enabled through Sennheiser Control Cockpit.
Setting up the TC Bar with Sennheiser Control Cockpit
If the TC Bar is deployed on a network, it needs to be connected to the network and managed through Sennheiser Control Cockpit. According to Sennheiser's setup instructions, the basic process consists of the following STEPS.
Step 1: Connect the TC Bar to the network. Use the RJ45 port to connect the TC Bar directly to a computer or through a network switch/router with DHCP. Sennheiser recommends using a CAT 5e cable or higher for the network connection.
For the TC Bar M, the supplied DC power supply must be used. The TC Bar S can use either the supplied DC power supply or PoE from a network switch supporting PoE+, according to the configuration specified by Sennheiser.
Step 2: Install Sennheiser Control Cockpit. Install Control Cockpit on the computer used to manage the system. The computer and TC Bar need to be on the same network for Control Cockpit to detect the device. They can be connected directly via Ethernet or through a network switch.
.jpg)
Step 3: Claim the TC Bar and enable device control. Once Control Cockpit detects the TC Bar, enter the default password printed on the label on the rear of the device. After unlocking control access, users can set a new password for the device.
Control Cockpit allows users to manage various TC Bar settings, including volume, camera, firmware, and activation of the Bluetooth, Wi-Fi, and Dante protocols. These protocols are disabled by default when the device leaves the factory for security reasons.
Step 4: Check and update the firmware. After claiming the device, open the Device section in Control Cockpit and check the firmware version. If an update is available, select the appropriate firmware, accept the terms, and proceed with the update according to the software instructions.
Step 5: Configure audio and camera settings. Control Cockpit allows users to adjust audio, camera, and other operating parameters. The TC Bar also provides profiles optimized for different installation methods and profiles for specific conferencing platforms.
If the TC Bar is used with an external Dante microphone, the Microphone inputs can be configured and priority levels can be set in the Automix section. When a compatible Sennheiser ceiling microphone is connected, the TC Bar provides built-in auto-mixing and multi-AEC, so no additional third-party DSP is required for these functions.
Step 6: Enable Dante or Wi-Fi if required. If the system uses Dante, the Dante protocol must be enabled in Control Cockpit. For Wi-Fi, Ethernet is still required during the initial setup to activate the function. Once Wi-Fi is configured, the TC Bar can be managed through the Wi-Fi network; Wi-Fi is not used to transmit audio or video.
After completing the configuration, make a test call to check the camera, Microphone, and speakers. If there is no audio, check the USB-C connection, Dante routing if Dante is being used, and the Speaker Output level in Control Cockpit. If the TC Bar does not appear in Control Cockpit, check whether the TC Bar and the computer running Control Cockpit are on the same network.
With this setup, the Sennheiser TC Bar can start with a simple BYOD configuration over USB-C and scale into a centrally managed conferencing system using the network, Control Cockpit, and Dante as requirements grow.
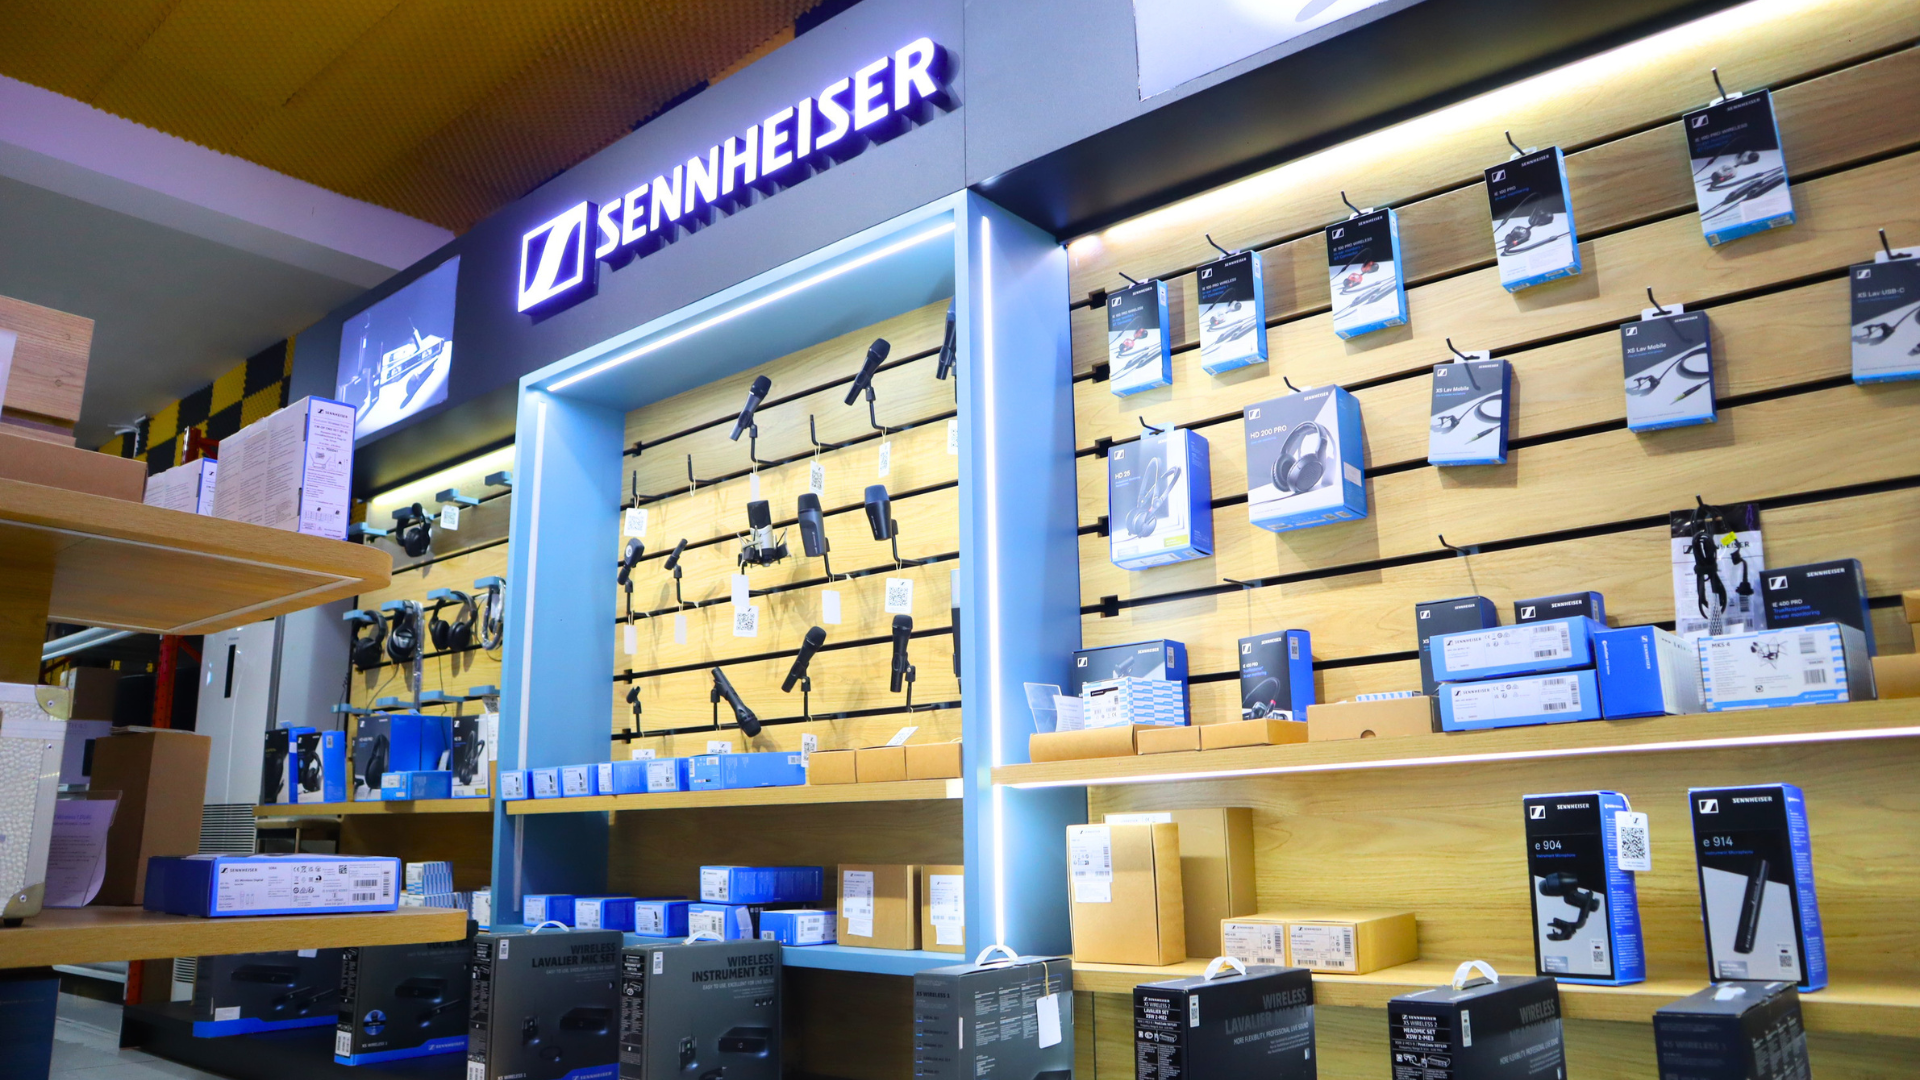
Hoàng Bảo Khoa is an authorized distributor of genuine Sennheiser products and the exclusive Sennheiser warranty provider in Vietnam, providing genuine products with after-sales service aligned with the brand's standards. For users concerned about product authenticity and after-sales support, reviewing the warranty policy is also an important step before making a purchase. Choosing genuine Sennheiser products provides greater confidence in product ORIGIN and warranty benefits under the applicable policy.
02:34:03 query returned open=false
02:34:03 dblclick "'''html" sidepanelOpen=false autoUpdate=true isAdv=false
02:34:07 dblclick "'''" sidepanelOpen=false autoUpdate=true isAdv=false
02:34:09 dblclick ">> Learn more about the Sennheiser store in Vietnam" sidepanelOpen=false autoUpdate=true isAdv=true
02:35:49 query returned open=false