EW-DX initial setup: attach antennas, connect audio outputs, power receiver (PoE or IEC), transmitter batteries, and install control software for update. Learn more at this article.
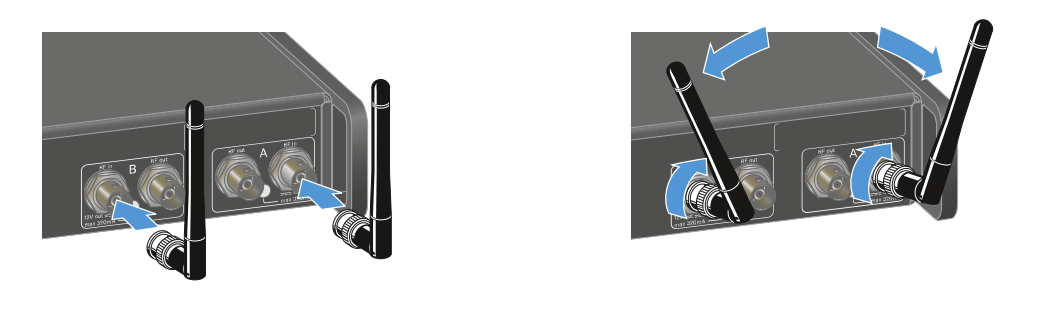
1. Attaching the antennas on the back of the receiver
Attach the antennas to the rear panel of the receiver as shown in the image.
2. Connecting audio outputs
Connect the audio outputs on the back of the EW DX receiver to a mixer, PA, or amplifier.
Note: only use one of the two output sockets for each channel.

Dante models can instead be routed digitally through the network via Dante Controller.
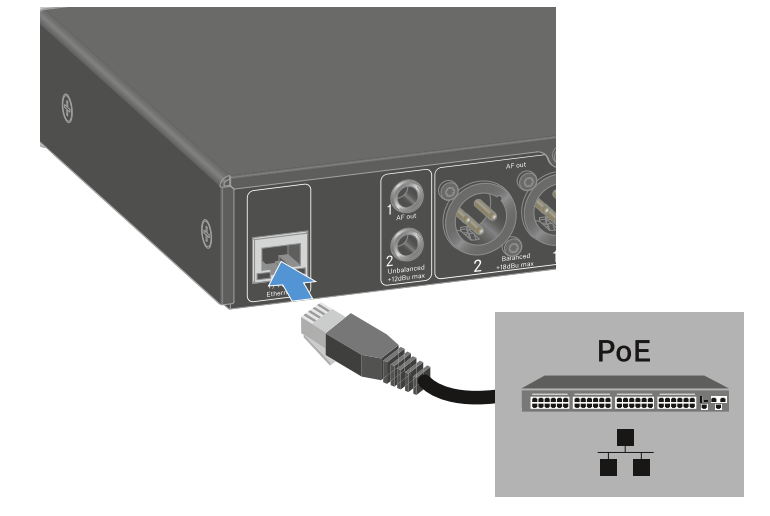
3. Connecting power to the receiver
The two-channel EW DX EM 2 supports PoE (IEEE 802.3af Class 0). You can either power this receiver from a PoE-capable network switch using a shielded Cat5e cable or higher, or via the supplied power cable.
The EW DX EM 4 receiver must be powered from the supplied IEC mains cable.
4. Inserting batteries into microphone transmitters
Insert batteries into all microphone transmitters as shown in the image.

5. Downloading control software
Download the Wireless Systems Manager (available for Mac and PC) or Sennheiser Control Cockpit (Windows only) for further control and management, including firmware updates.
It is highly recommended to update the unit’s firmware prior to use.