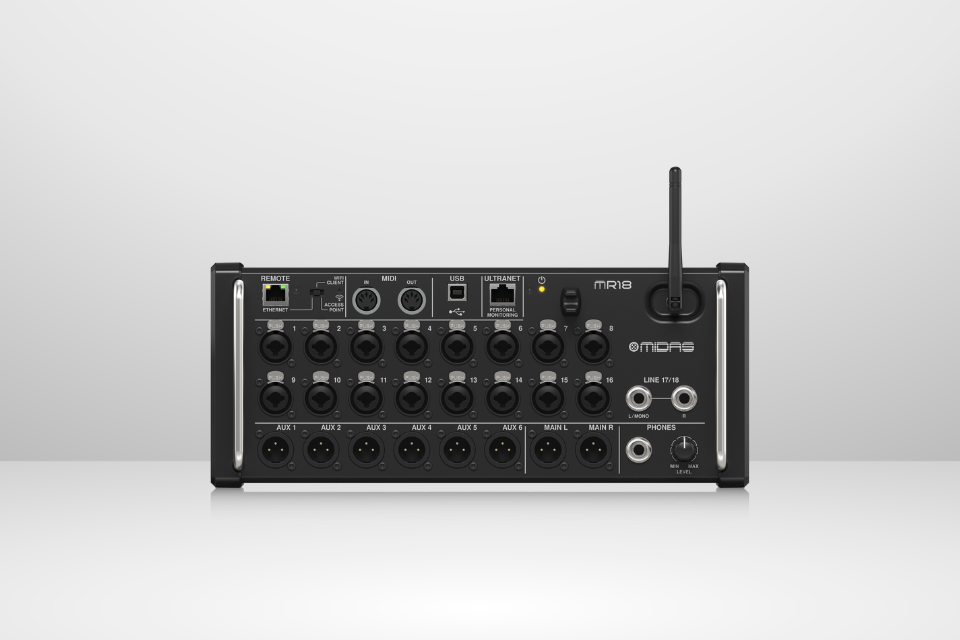
How do you record a channel with FX applied from the Midas MR18 into a DAW? Learn the FX Send/Return mechanism and the detailed routing steps via Mix Bus and USB Sends, allowin
How FX Return Works on MR18

The key point to understand: FX Returns are separate channels, and they only produce sound when routed to the Main Mix or a Mix Bus.
-
If you want to record the original channel + FX, you need to use bussing to combine them.
-
If you only want to record the FX signal, you can record directly from the FX Return.
STEPS to Record FX from MR18
1. Send Signal to FX Send
-
Select the channel you want to apply FX to.
-
Enable Sends on Fader for the FX Bus (e.g., FX1).
-
Raise the send level to feed the signal into the desired FX.
2. Check FX Return
-
Locate the FX Return channel (green, labeled FX1, FX2, FX3, FX4 on the input layer).
-
Ensure the signal is present at the FX Return channel.
3. Select a Bus to Record
4. Route Bus to USB
5. Record in DAW
-
Open your DAW (Logic Pro, Cubase, Reaper, etc.).
-
Select the track input corresponding to the assigned USB Output.
-
When recording, the input signal will include both the original channel + FX.
Important Notes
-
This method applies to the Midas MR18 and can also be used with Behringer XR18/ X18 since their FX and routing structures are nearly identical.
-
Always check signal levels to avoid clipping when combining the original channel and FX Return.
-
For professional recording, you can record the dry channel and wet FX Return separately for greater flexibility during mixing.
Conclusion
Recording FX on the Midas MR18 is straightforward once you understand the FX Send/Return principle and use the right Bus to combine signals. With this method, you can choose to record FX separately or pre-mix the original channel with FX before sending to your DAW. This is a crucial skill to maximize the MR18’s potential in both studio recording and live performance.