Livestreaming has become an essential tool for online selling, teaching, live performances, and content creation. However, poor video and audio quality can quickly drive viewers away. This guide will show you how to set up your livestream equipment in a simple yet effective way, ensuring your content looks professional and engaging.
Why Proper Livestream Setup Matters
A successful livestream is not only about great content-it’s also about the viewer experience. If the audio is distorted, the video is blurry, or the lighting is poor, your audience will lose focus. Setting up your equipment correctly helps to:
-
Deliver sharp, clear video with accurate colors.
-
Provide clean, noise-free audio.
-
Create a professional impression that keeps viewers engaged longer.
Essential Equipment for Livestreaming
You don’t need overly complex gear to start livestreaming. With a few reliable tools, you can achieve professional-quality results:
-
Camera or Webcam: At least Full HD resolution for smooth, clear visuals.
-
Livestream Microphone: A dedicated condenser or dynamic mic for crisp, detailed audio (much better than built-in mics).
-
Audio Interface or Mixer: To control volume levels, process signals, and reduce unwanted noise.
-
Lighting Equipment: Ring lights or softboxes to brighten your face and eliminate shadows.
-
Livestream Software: OBS Studio, StreamYard, or native platforms like Facebook Live and YouTube Live.
Livestream Setup Options
Depending on your needs and budget, you can choose from different setup levels:
1. Basic Setup (Online Selling, Teaching)
-
Smartphone + tripod stand for stability.
-
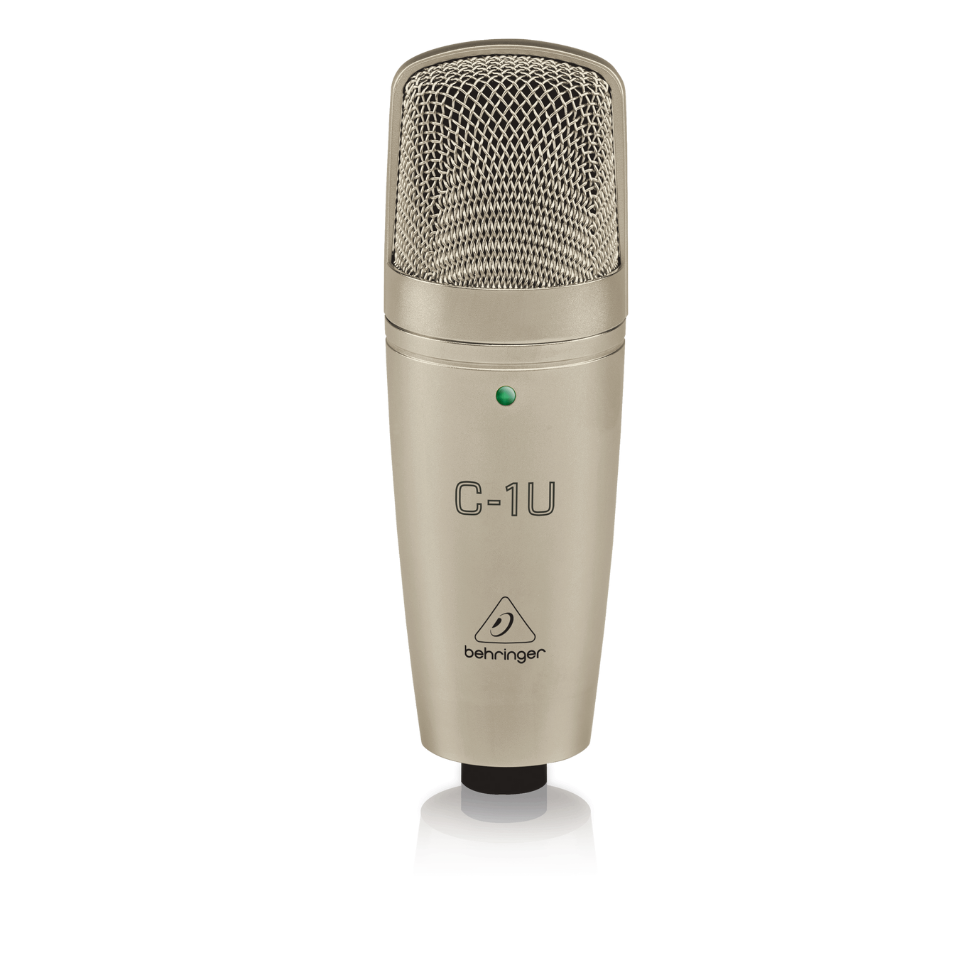
USB microphone (e.g., Behringer C-1U) for clearer voice capture.
-
Ring light for direct, balanced lighting.
2. Advanced Setup (Streamers & Content Creators)
-
Full HD webcam or DSLR camera with a capture card.
-
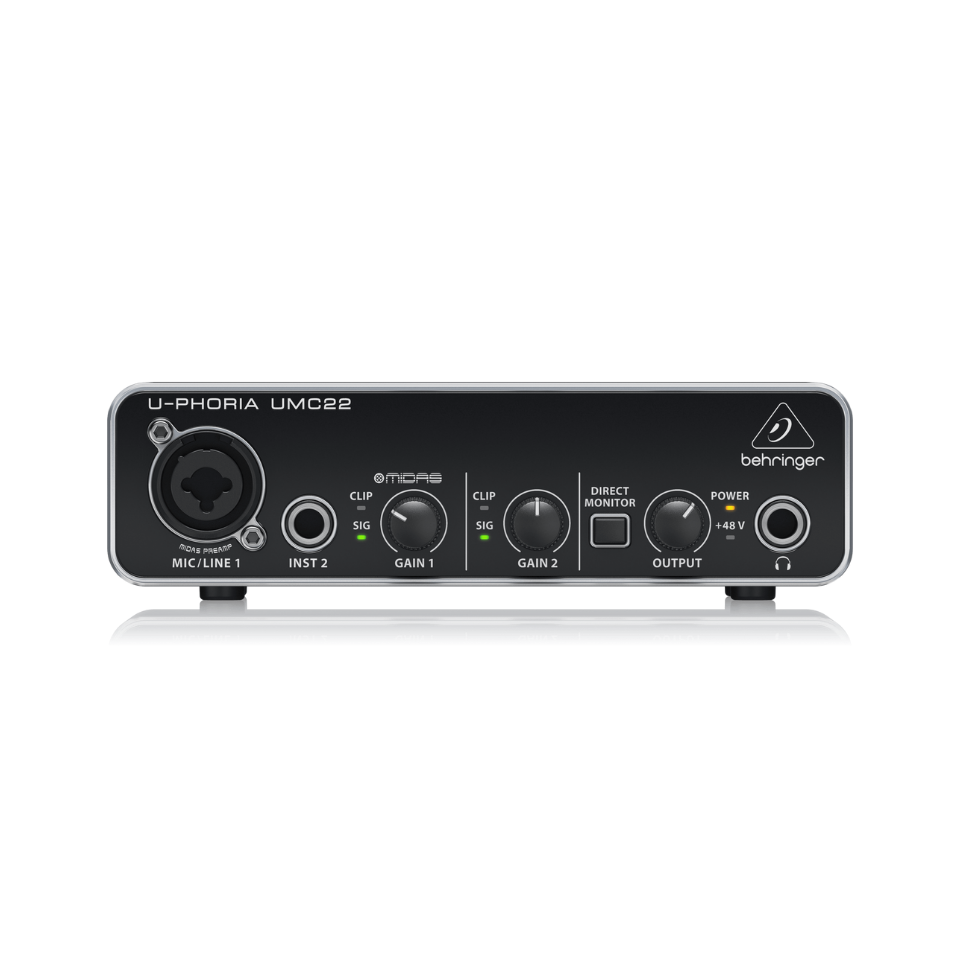
Audio interface (e.g., Behringer UMC22) for proper mic signal handling.
-
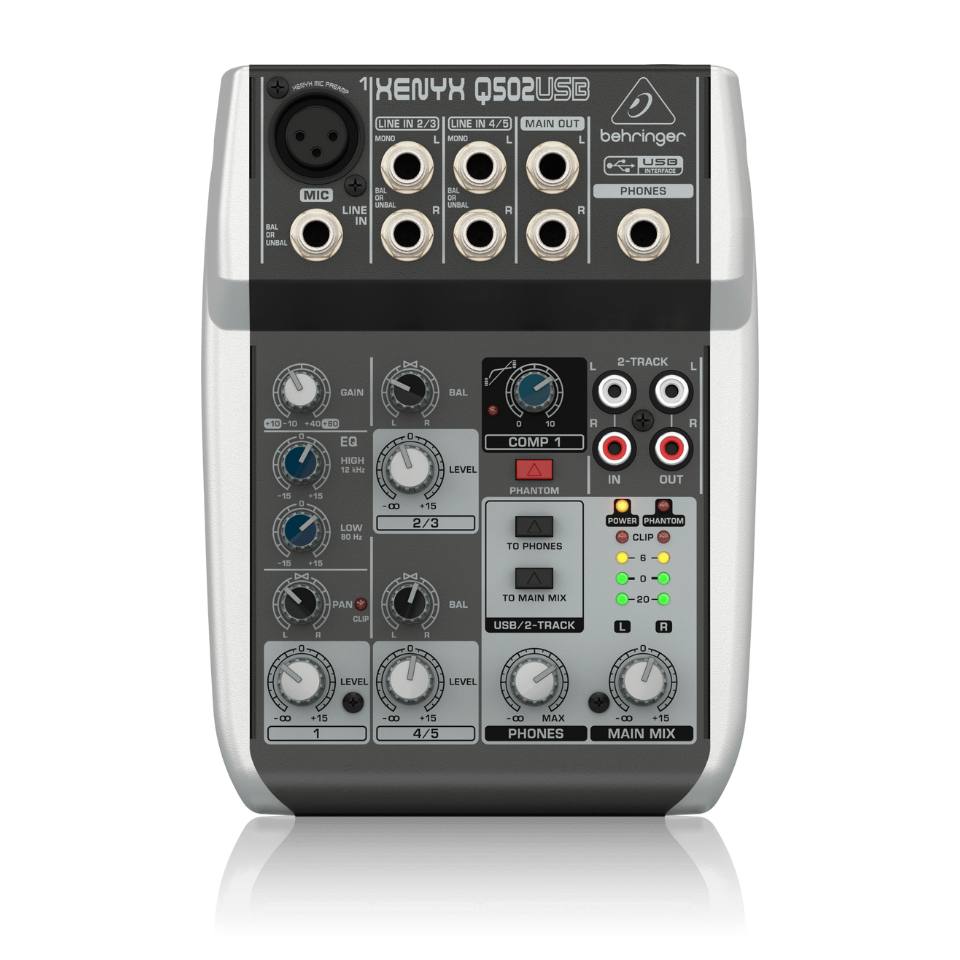
Compact mixer (e.g., Behringer Xenyx Q502USB) if connecting multiple audio sources.
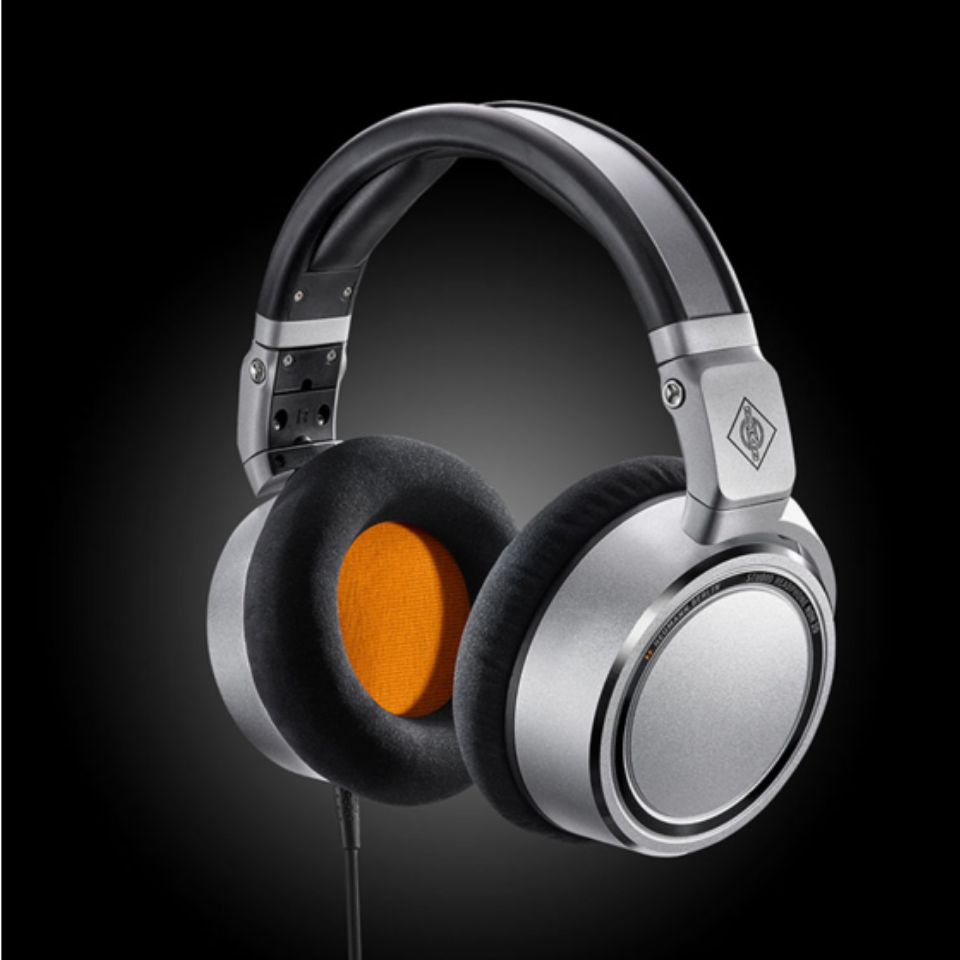
-
Studio monitoring headphones (e.g., Neumann NDH 20) to check sound quality in real time.
-
Combined lighting system with softboxes for natural, even illumination.
3. Professional Setup (Events & Live Performances)
-
Multiple professional cameras for different angles.
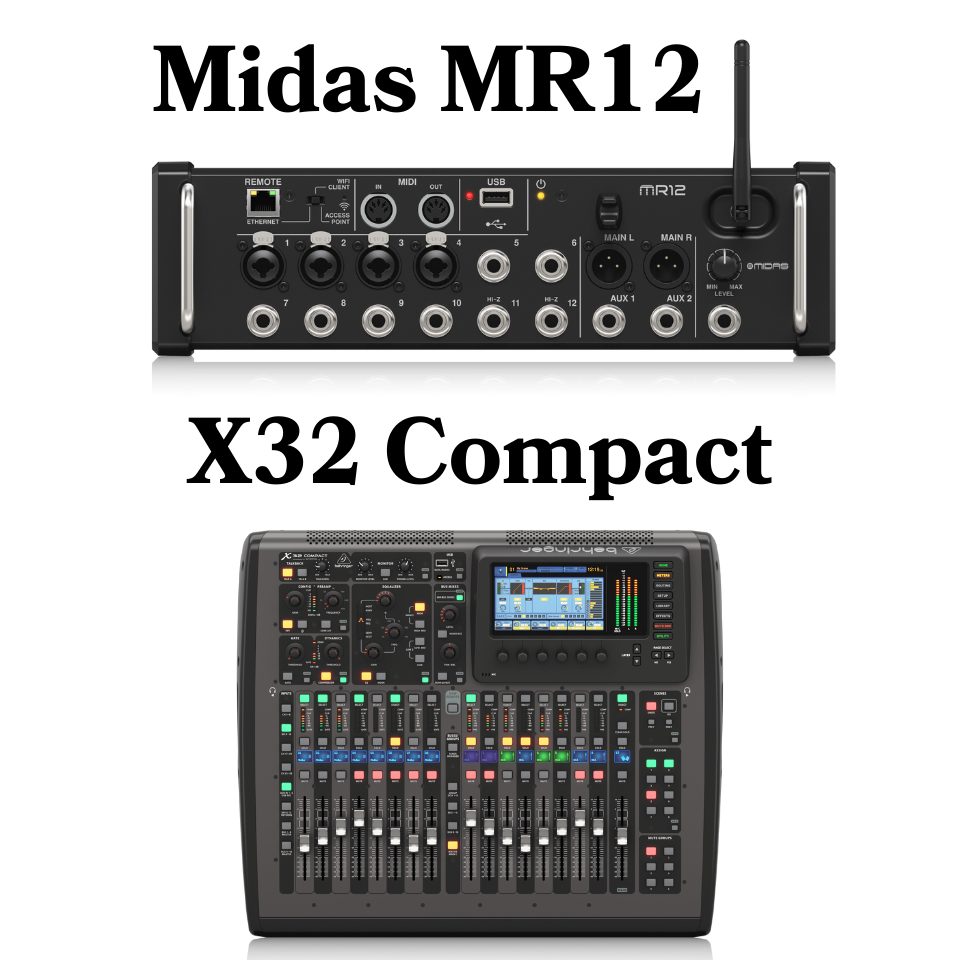
-
Digital mixer (e.g., Midas MR12, Behringer X32 COMPACT) for multi-channel audio processing.
-
Professional wireless microphones (e.g., Sennheiser EW-DX) for singers, presenters, or MCs.
-
Stage lighting integrated with livestream lighting for a dynamic experience.
Common Livestream Setup Mistakes
-
Low or distorted audio: Using built-in mics without proper audio processing.
-
Shaky video: Lack of tripod or stable mounting.
-
Poor lighting: Relying only on room light without extra fixtures.
-
Unstable internet: Not checking the connection beforehand.
Pro Tips for a Better Livestream
-
Always test audio and video at least 10 minutes before going live.
-
Use a wired LAN connection instead of Wi-Fi for stability.
-
Prepare a clear script or outline to avoid rambling.
-
Position the camera at eye level for natural communication.
Conclusion
A successful livestream doesn’t require expensive gear. With the right setup and preparation, you can deliver professional-quality broadcasts that capture attention, build trust, and enhance engagement.