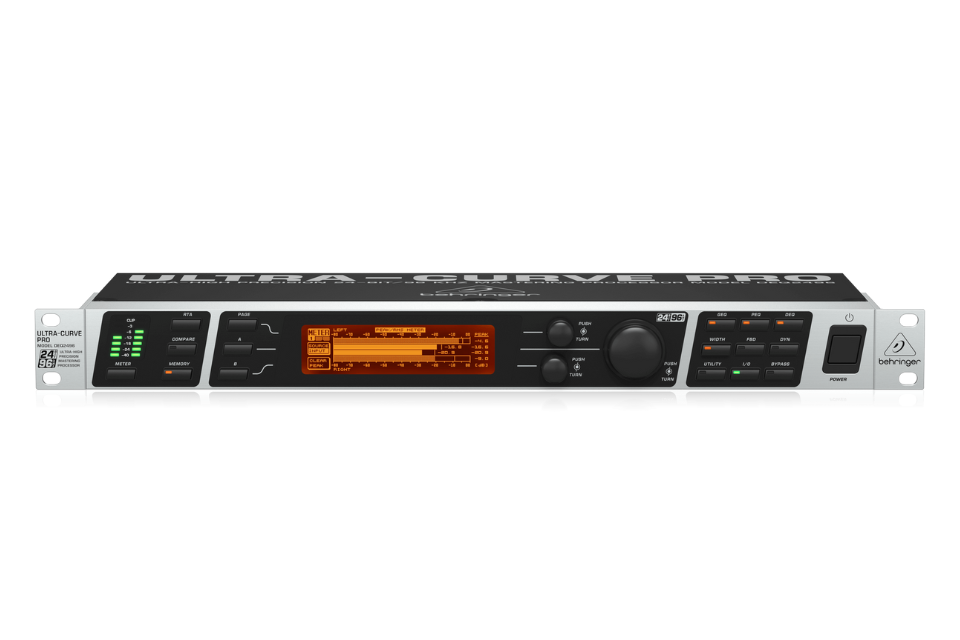
The Behringer DEQ2496 is a high-end digital audio processor equipped with advanced features such as Auto EQ and Room Correction, designed to fine-tune frequency response, balance acoustic space, and optimize sound quality. This detailed step-by-step guide will help you maximize the unit’s automatic calibration capabilities.
Connect Microphone and Monitors
Before you begin, set up the basic connections:
-
Measurement Microphone: Connect the Behringer ECM8000 (or equivalent measurement mic) to the RTA/MIC input on the back of the DEQ2496 using an XLR cable.
-
Monitors: Connect the OUT L and OUT R outputs of the DEQ2496 to the inputs of your powered studio monitors.
Set DUAL MONO Mode
To independently calibrate each channel, configure the unit in Dual Mono mode:
-
Press UTIL to open the GENERAL SETUP page.
-
Use the small rotary encoder to select CHANNEL MODE, then use the large encoder to set it to DUAL MONO.
-
Press B to confirm and choose ACCEPT MODE.
Configure Input/Output (I/O Settings)
-
Press I/O to open the input/output configuration menu.
-
Select MAIN IN as the signal source.
-
Go to Page 3, select RTA/MIC, and enable +15V Phantom Power for the ECM8000 microphone.
Set Up Real-Time Analyzer (RTA) & Auto EQ
-
Press RTA to open the Real-Time Analyzer page.
-
Press B (AUTO EQ) to access the Auto EQ settings.
-
Select the LEFT channel using button A, then adjust the target curve using the two rotary encoders.
-
Hold B to reset the curve if needed.
Adjust Auto EQ & Room Correction Settings
-
Press PAGE to go to AEQ Page 2.
-
Enable ROOM CORRECTION if you want the system to automatically compensate for low-frequency buildup in enclosed rooms.
-
Adjust NOISE GAIN to increase or decrease the pink noise output level.
-
Choose AUTO EQ SPEED (Slow, Mid, Fast) based on the desired calibration accuracy.
Set EQ Range Limits
On AEQ Page 3, you can control the maximum difference between adjacent frequency bands:
-
The MAX parameter determines the allowed gain deviation between neighboring bands.
-
Recommended starting value: 3 dB, ensuring smooth and precise equalization.
Start Auto EQ Process
-
Press A to START AUTO EQ.
-
The DEQ2496 will measure ambient noise for approximately 15 seconds.
-
It will then play pink noise and analyze the frequency response for another 15 seconds.
-
If the pink noise signal is too low, increase Noise Level with the large encoder and restart the process.
Monitor the Calibration Process
-
Observe progress on RTA Page 2 (frequency response) or AEQ Page 3 (EQ adjustment).
-
You can modify MAX SPAN and MAX during calibration to smooth out the response.
-
When Auto EQ stabilizes (after about 90 seconds), press PAGE → B to complete the process.
Review and Edit Auto EQ Results
Once the process is complete, the DEQ2496 will display the automatically generated EQ curve.
Press GEQ to view and fine-tune the EQ settings to match your preferred tonal balance.
Repeat for Right Channel
Repeat the entire procedure for the Right channel.
Alternatively, if you want to apply the same settings to both channels, enable STEREO LINK in the UTILITY menu to synchronize Auto EQ.
Technical Notes
-
Room Correction: Works only when Auto EQ is active and helps reinforce low frequencies in smaller rooms.
-
RTA Levels: Set the rear-panel MAX switch to +12 dBu to ensure sufficient signal level.
-
ECM8000 Sensitivity: Set the microphone sensitivity to 37 dBv/Pa in the Mic Level menu for accurate readings.
Conclusion
With its Auto EQ and Room Correction functions, the Behringer DEQ2496 offers professional-grade acoustic calibration, ensuring accurate, balanced, and consistent sound across various environments. Whether you’re an audio engineer or an enthusiast optimizing your home setup, the DEQ2496 is a powerful tool to achieve superior sound precision.